How to Create PDF Files with PDNob - User Guide
Generating PDF documents is a fundamental task for professional, academic, and personal projects. With Tenorshare PDNob 2.0, you can produce high-quality PDFs rapidly using several different approaches tailored to your specific workflow. This guide explores the most efficient methods for creating PDFs in various scenarios.
1. Create a PDF from an Existing File
If you have source documents like Word files, Excel spreadsheets, or images, you can transform them into professional PDFs in just a few steps:
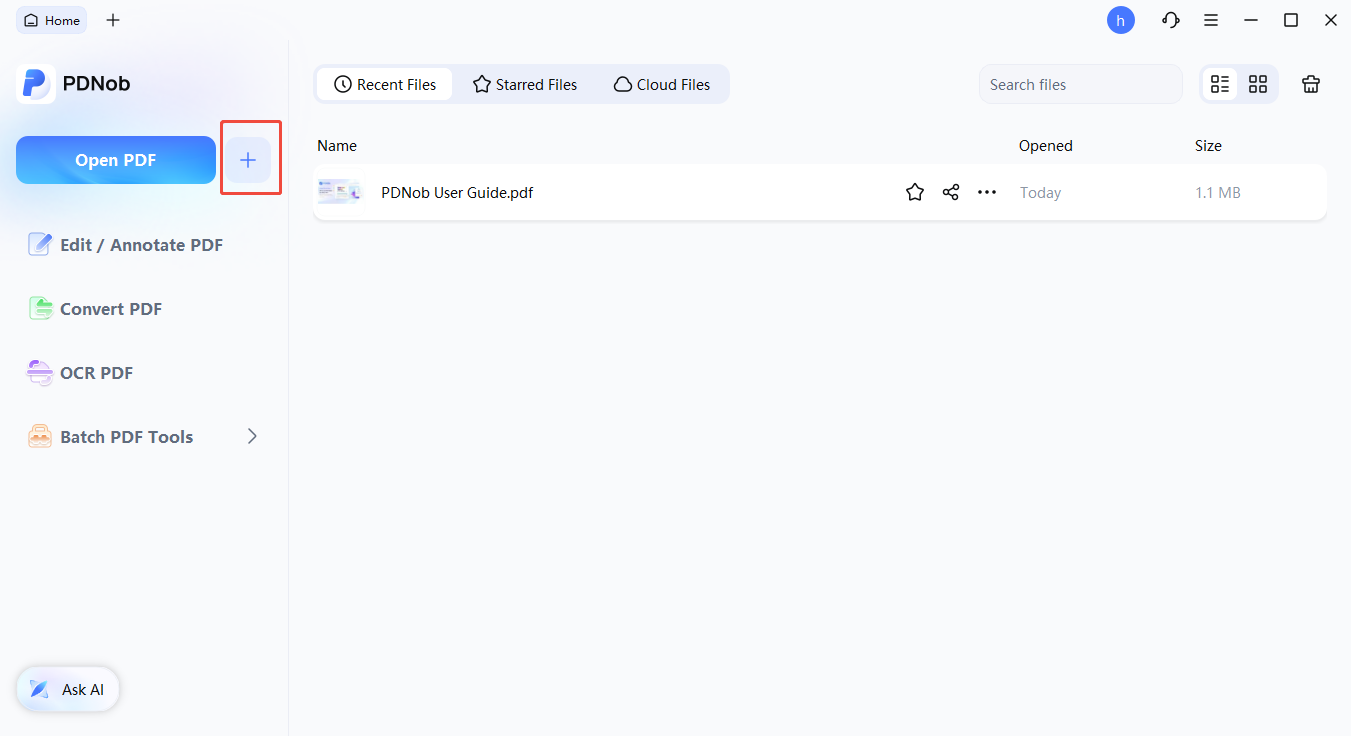
- Open Creation Options:Launch Tenorshare PDNob and click the + icon located in the sidebar to view your document creation tools.
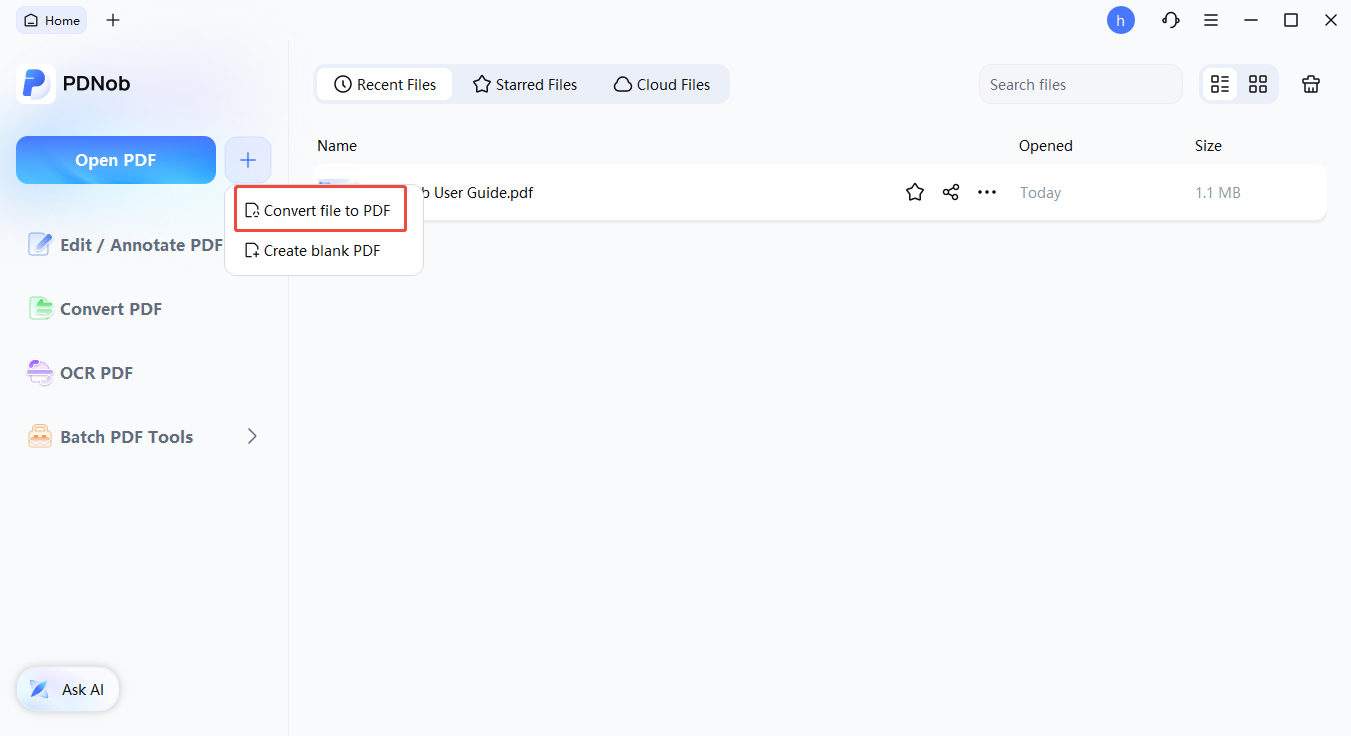
- Select Conversion:Choose the Convert file to PDF option to initiate the upload process.
- Choose Your Source:Browse your folders and select the file you wish to convert (supported formats include DOCX, XLSX, and various image types).
- Save Your Document:Click Save to generate the PDF and store it securely on your device.

2. Start with a Blank PDF
When you need to build a document from the ground up, starting with a clean slate allows for total creative control:
- Initiate New Project:Open PDNob and click the + button on the main interface.
- Open Workspace:Select Create Blank PDF to launch a fresh, empty workspace.
- Design Content:Use the advanced editing tools to insert text, add images, and format elements to build your document from scratch.


3. Batch Create Multiple PDFs
To save time when handling high volumes of data, use batch processing to convert multiple files simultaneously:
- Access Batch Tools:From the PDNob homepage, select Batch PDF Tools to enter the bulk processing menu.
- Choose Batch Function:Select the specific batch conversion feature required for your files.
- Upload Documents:Click Add Files to select and import multiple documents for simultaneous processing.
- Execute Conversion:Click Apply to start the bulk transformation. Once finished, all your new PDFs will be saved automatically for immediate use.