How to Add, Edit, and Remove Watermark in PDF with PDNob - User Guide
Watermarks are widely used to display branding, indicate ownership, or label document status. With PDNob PDF Editor, you can insert new watermarks, modify existing ones, or remove them entirely—whether you're working with a single PDF or multiple files in batch.
1. Add Watermark for a single PDF
To place a watermark on a single PDF file, follow the steps below.
- Open your document, go to the "Edit" tab, and choose "Watermark".

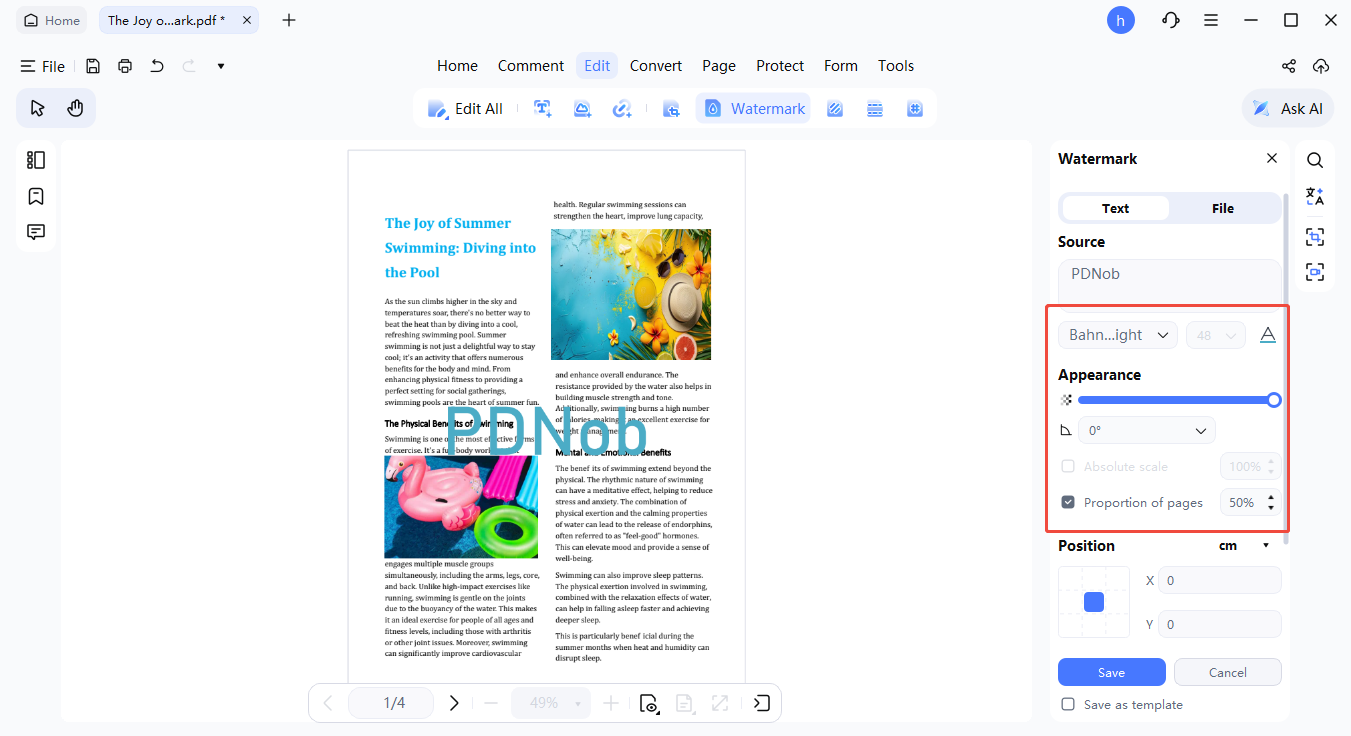
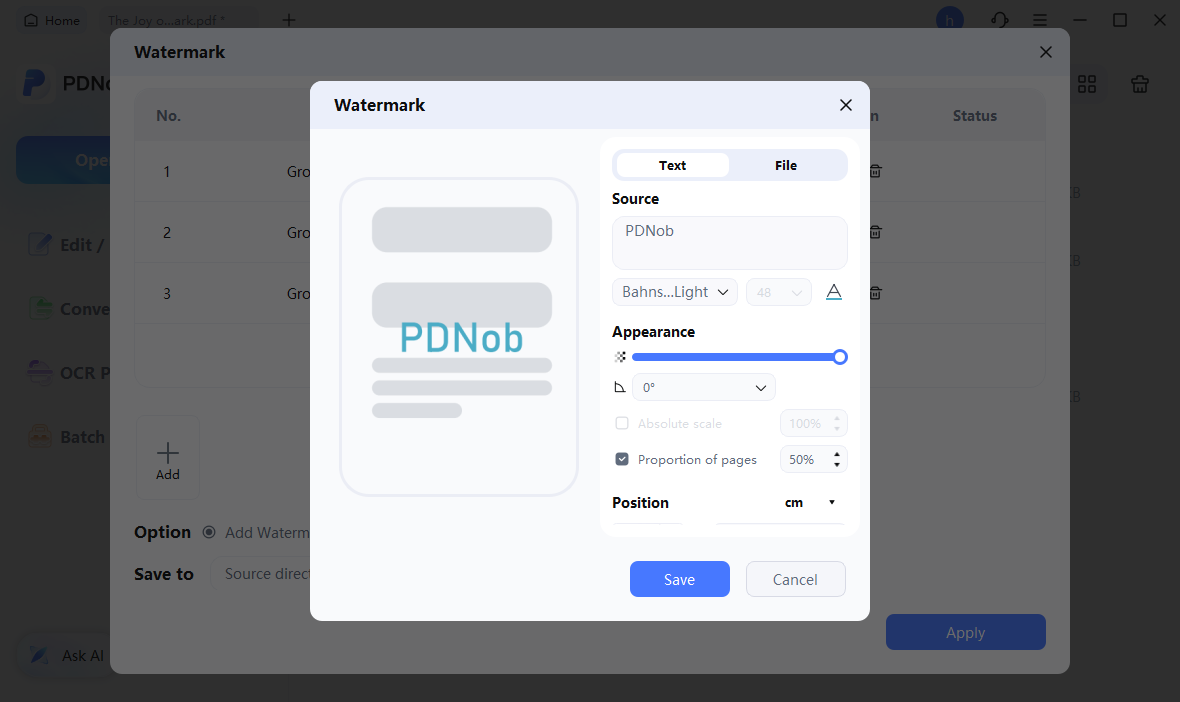
- Choose the type of watermark you want to use: Text, Image, or PDF.

- Input your text or import a file, then adjust properties such as font, color, opacity, and size to match your needs.
- Adjust placement settings, including whether the watermark appears in the foreground or background, and decide if it should repeat across the page.
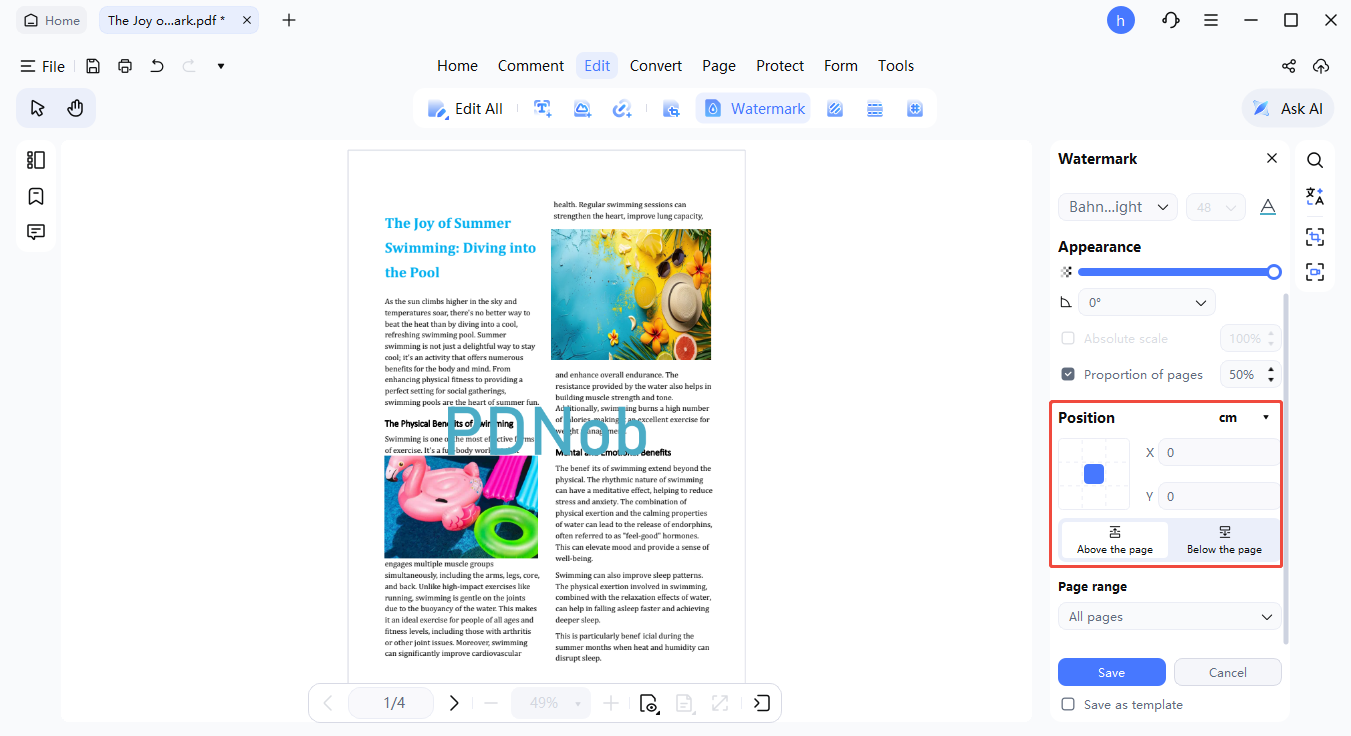
- Set the page scope where the watermark will appear, such as all pages or a selected range.
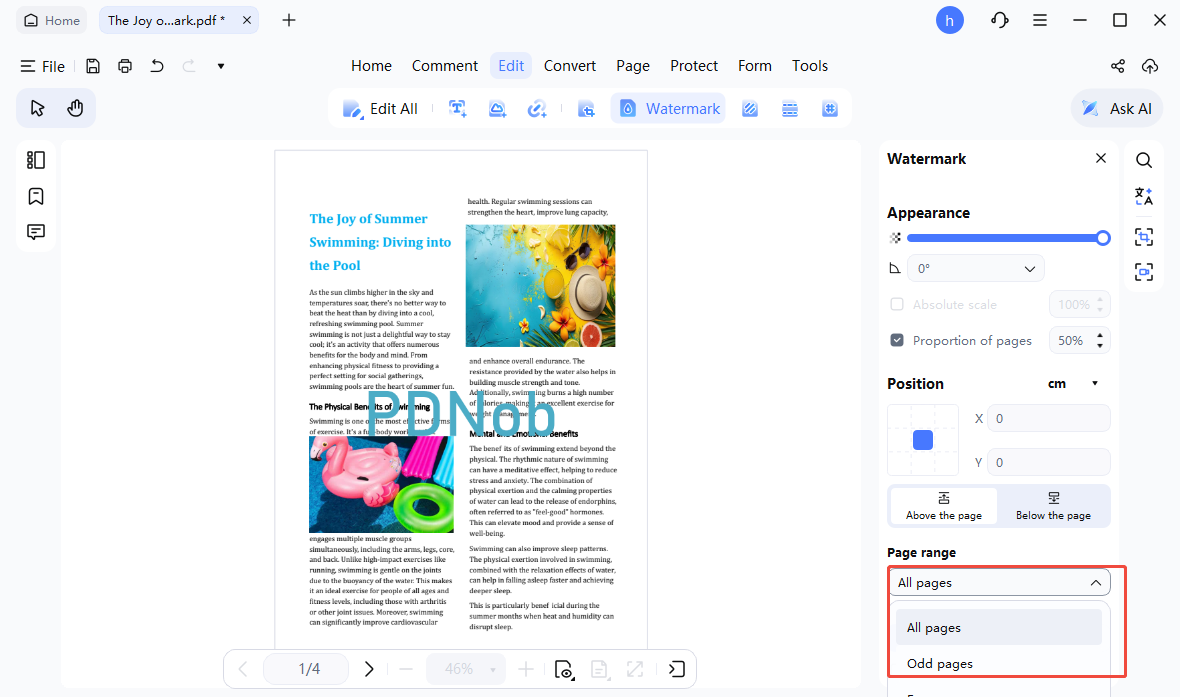
- Click "Save" to finalize and apply the watermark.


2. Edit Watermark in PDF
If adjustments are needed, existing watermarks can be updated at any time.
- Open the "Watermark" section under the Edit tab and locate the current watermark.
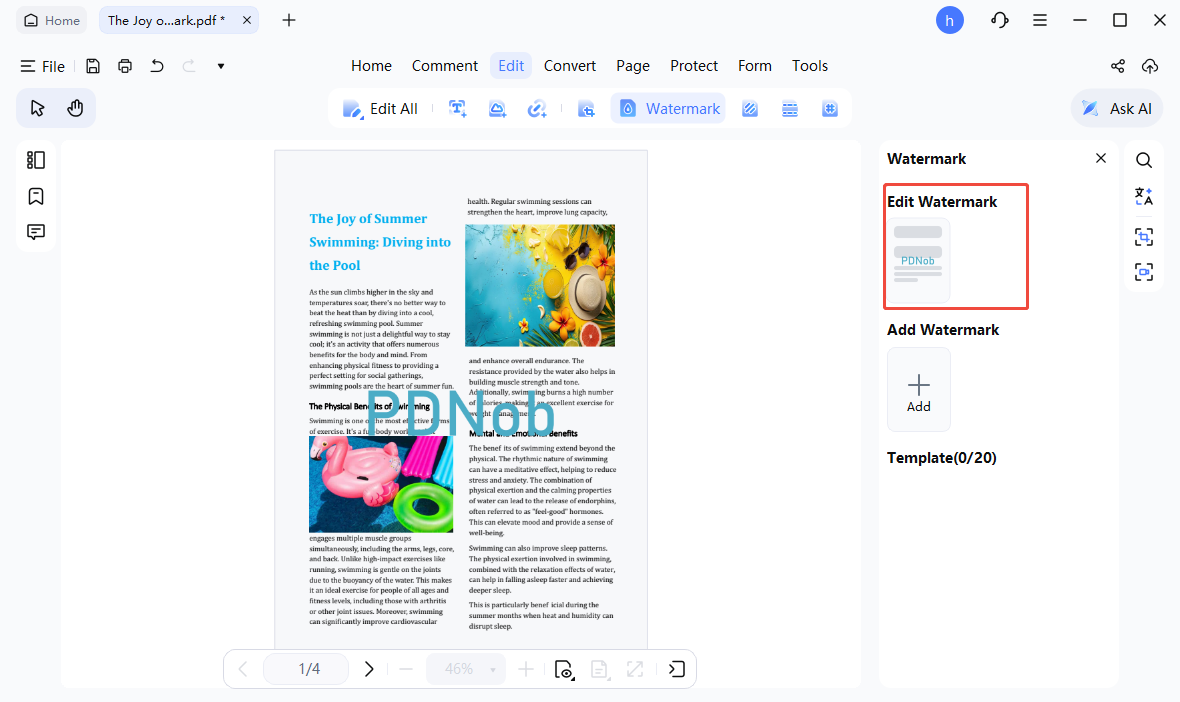
- Select "Edit" to reopen its settings, make the necessary changes, and click "Apply" to confirm.

3. Batch Add/Remove watermark in PDF
For handling multiple PDFs, batch tools make watermark management faster and more efficient.
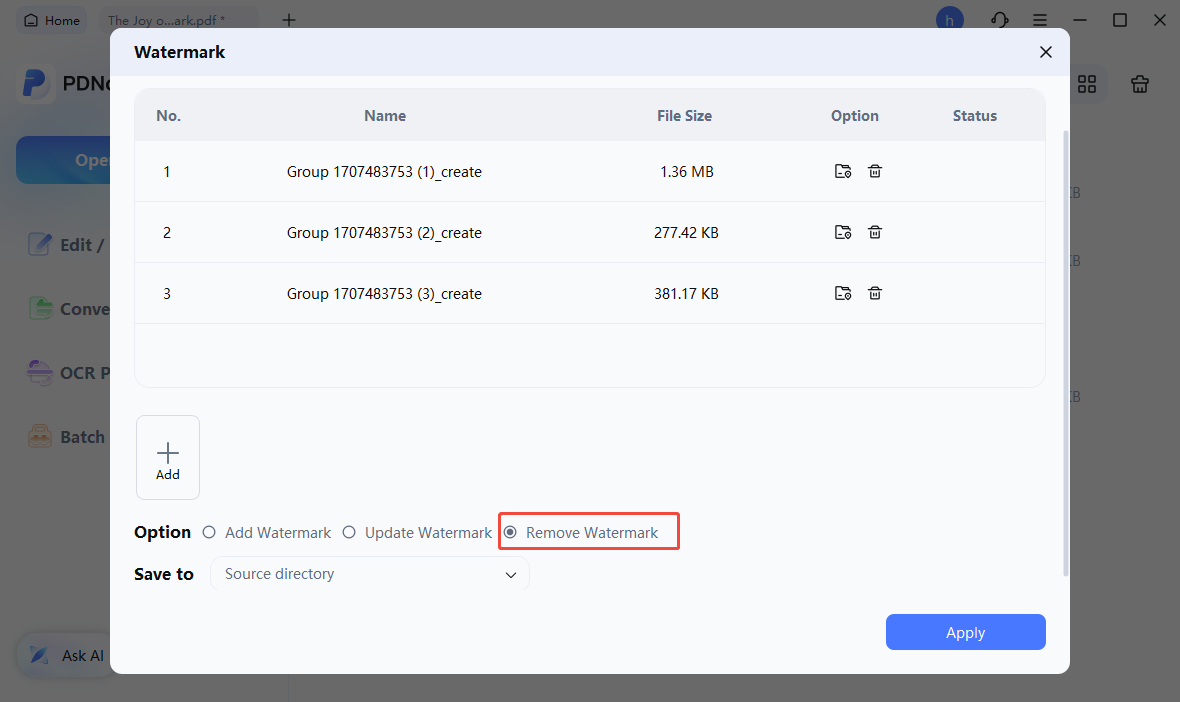
- Open "Batch PDF Tools" from the main interface and select "Watermark".
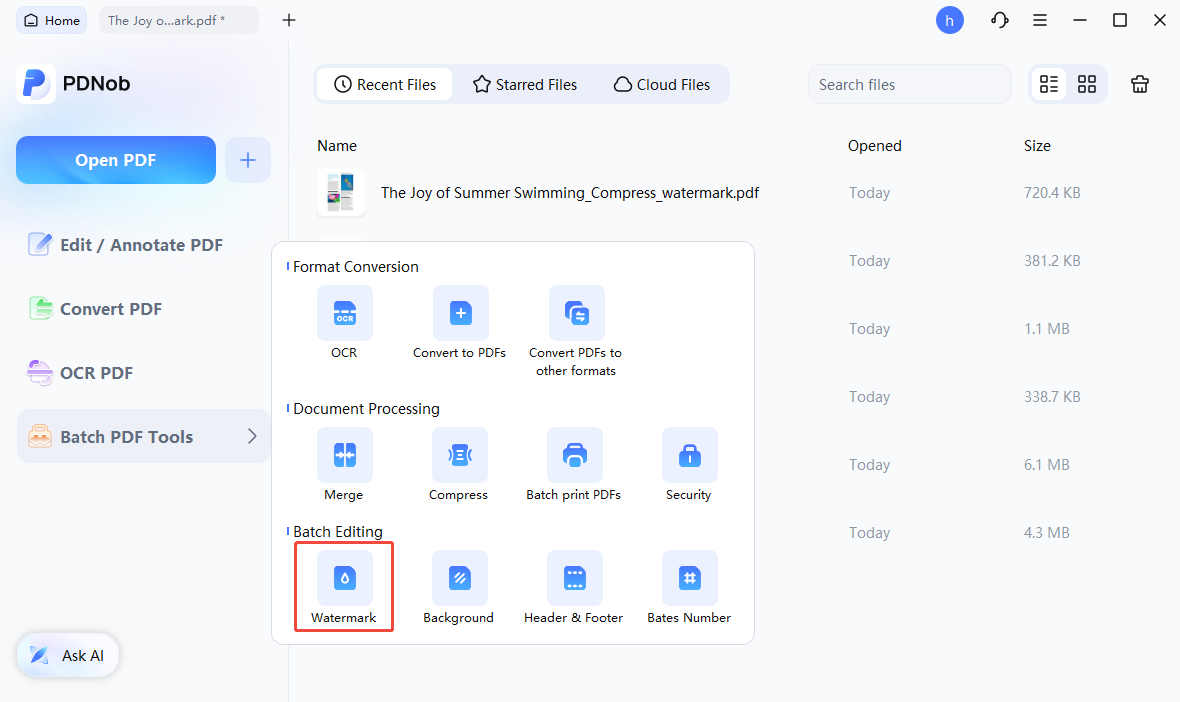
- Use "Add Files" or "Add Folder" to import the PDFs you want to process.
- Choose "Add Watermark" to insert a watermark, then configure the text or image settings as needed.
- Alternatively, select "Remove Watermark" and click "Apply" to automatically detect and delete existing watermarks from the selected files.